
A hit counter on Cloudflare Workers and D1 SQLite, with SVG badges and a JSON API.
Read this in other languages: English | 中文
- SVG hit counter badges.
- Record and read counts through the JSON API.
- Bundled Moe Counter themes, switchable with the
themeparameter. - Runs on Cloudflare Workers and D1 SQLite, with private deployment support.
The examples below use the hosted instance tally.yuki.sh. For a private deployment, replace it with your own domain.
| Method | Path | Description |
|---|---|---|
POST |
/counters/:namespace/:name |
Record a visit and return JSON |
GET |
/counters/:namespace/:name |
Read an existing counter as JSON |
GET |
/counters/:namespace/:name/badge |
Record a visit and return SVG |
GET |
/badges/:visit |
Render a specific number as SVG |
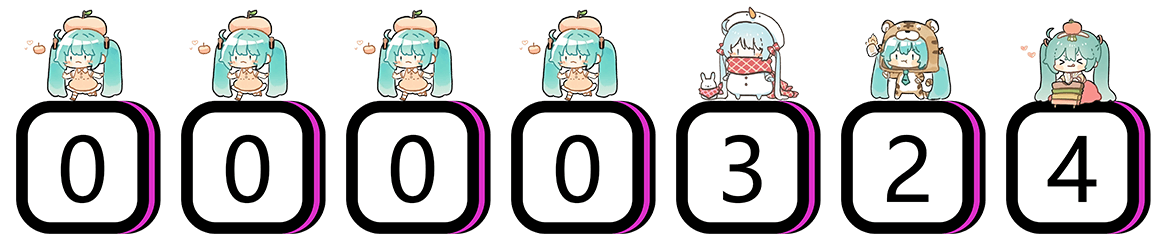More than 50 themes are bundled. The default is moebooru; gelbooru, miku, and minecraft are just a few examples. Theme images come from Moe Counter.
Record a visit:
POST https://tally.yuki.sh/counters/github/tallyflare{
"visit": 114514,
"visitor": 1919,
"digits": "0114514"
}The first request creates the counter and returns 201 Created. Later requests return 200 OK. Use GET to read without recording a visit. digits is visit padded with leading zeros according to padding, which defaults to 7:
GET https://tally.yuki.sh/counters/github/tallyflarevisitor is the number of distinct client IPs seen since the counter was created. It is not a count of people. Migrated counters keep the old visitor as a historical base and keep all old IP fingerprints; the base is not guaranteed to equal the number of fingerprints. JSON endpoints accept a padding parameter from 0 to 16 to control the number of digits in digits.
The previous version used Cloudflare KV. The current version provides export, conversion, and local verification steps:
bun run migrate:kv export --namespace-id <KV_NAMESPACE_ID> --output kv.json
bun run migrate:kv convert kv.json kv-migration --chunk-size 10000
See Migrate from KV for the full flow.
Tallyflare runs on Cloudflare Workers and stores data in D1 SQLite. You can deploy it with one click or follow the manual steps below.
Click the button above. Cloudflare creates the D1 SQLite database, then Workers Builds runs the repository's build and deploy scripts in order. deploy applies migrations before publishing the Worker. database_id is the unique identifier of the D1 SQLite database. One-click deployment does not need it; manual CLI deployment requires creating a D1 database and putting the returned ID into the config.
Before deploying manually, prepare:
The commands below use Bun as an example, reflecting my personal preference rather than a runtime requirement for the Worker, which runs on Cloudflare Workers. The repository's build, test, and start scripts currently use Bun, so if you use another toolchain, you will need to adjust those scripts.
git clone https://github.com/xueelf/tally-api.git
cd tally-api
bun install
After installing dependencies, start the local server:
bun run devThe server prints its actual address when ready. To use a fixed port, set PORT before the command, for example PORT=3000 bun run dev.
For the first manual deployment, create and bind the D1 SQLite database first:
bun run wrangler d1 create tallyflarePut the returned database_id into the d1_databases section of wrangler.jsonc, apply the migration, then build and deploy:
bun run db:migrate:remote
bun run build
bun run wrangler deploy
For later updates, run bun run release to build, apply remote migrations, and deploy the Worker. See the private deployment guide for the full steps.
Full usage instructions, API reference, themes, and private deployment guide:
Themes come from Moe Counter. Copyright for the theme images belongs to their respective creators.